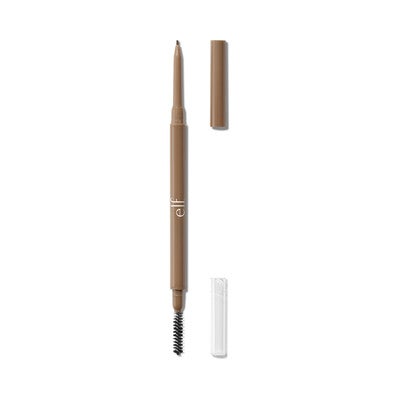
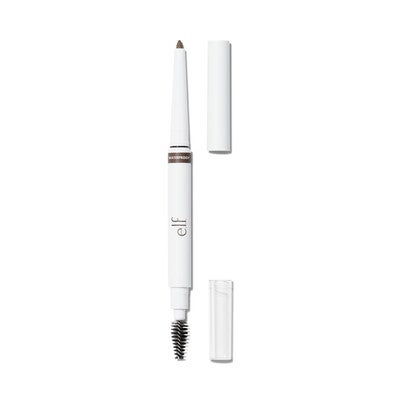
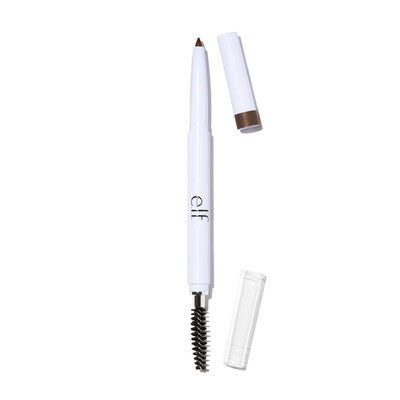
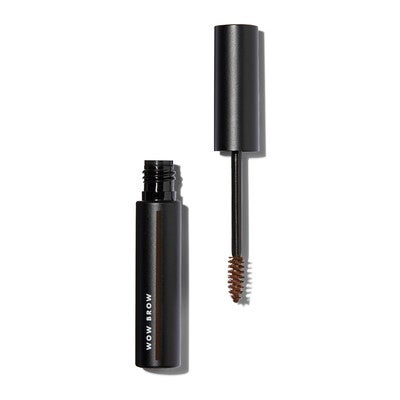
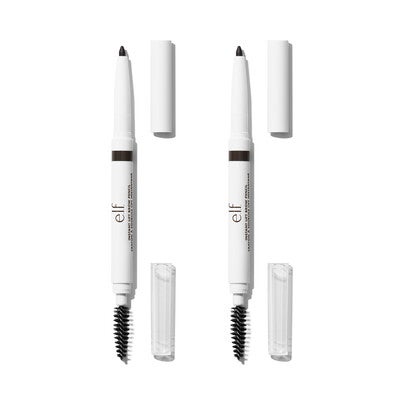
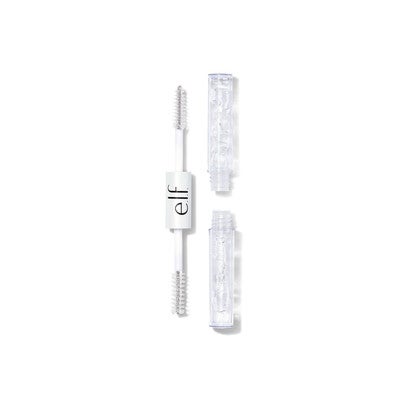
Brow products for every beat.


eyebrow essentials.

EYEBROW MAKEUP FAQs
There are several makeup products you can use on your eyebrows to enhance their appearance and shape. The most common items include eyebrow pencils for filling in sparse areas and creating definition, brow powders for a softer, more natural look, and brow pomades for bold, long-lasting color. Tinted or clear brow gels are used to set the brows in place and add a polished finish. Some people also use concealer around the brows to clean up edges and highlight the brow bone. The combination of products used depends on personal preference, desired look, and natural brow fullness, with many opting for a mix of these products to achieve their ideal eyebrow appearance.
If you're looking for the best brow products to fill in sparse eyebrows, You may want to try a brow pencil or brow powder that matches your eyebrow color for a natural look. Additionally, a brow gel can help hold your brow hairs in place all day.
For the ultimate beginner eyebrow makeup look, we recommend the following steps:
-
Brush your brows: Using a spoolie brush, brush your eyebrows upwards and outwards to give your eyebrows a more defined shape.
-
Fill in your eyebrows: Using a brow pencil, powder or pomade, fill in any sparse areas of your eyebrows. Follow the natural shape of your brow and use light, feathery strokes for a more natural look.
-
Blend the product: Use a brow brush or spoolie brush to blend the product into your eyebrows for a flawless finish.
-
Set your brows: Use a clear brow gel to lock the hairs in place and keep your brows looking neat and tidy all day long.
To achieve a basic eyebrow makeup look, we recommend following these simple steps:
-
Brush your brows: Use a spoolie brush to comb your eyebrow hairs upward and outward. This helps you see the natural shape and identify any sparse areas.
-
Define the shape: Use an eyebrow pencil to lightly outline the bottom edge of your brow, following your natural arch.
-
Fill in sparse areas: Using short, light strokes that mimic your natural hair growth, fill in any gaps or sparse areas within your brows. Be sure to use a shade that matches your natural brow color.
-
Blend: Use the spoolie brush again to blend the pencil strokes, creating a more natural look.
-
Set the brows: Apply a clear or tinted brow gel to keep the hairs in place and set your work.
-
Clean up edges: If needed, use a small, flat brush with a bit of concealer to clean up and sharpen the edges of your brows.
Remember, the key to natural-looking brows is to enhance what you already have rather than completely redrawing them. Start with light strokes and build up gradually for a more subtle effect. With practice, you'll find the technique that works best for your brow shape and desired look.
For beginners, filling in eyebrows using an eyebrow pencil can be simple and effective. Here's a step-by-step guide:
-
Choose the right shade: Select a pencil that matches your natural brow color or is slightly lighter.
-
Brush your brows: Use a spoolie brush to comb your eyebrow hairs upward and outward to see their natural shape.
-
Outline the shape: Lightly draw along the bottom edge of your brow, following your natural arch.
-
Fill in sparse areas: Using short, light strokes that mimic your natural hair growth, fill in any gaps within your brows. Start from the inner corner and work your way outward.
-
Extend if needed: If your brows are short, extend the tail slightly using the same light, feathery strokes.
-
Blend: Use the spoolie brush again to blend the pencil strokes, creating a more natural look.
-
Set the brows: Apply a clear brow gel to keep the hairs in place and set your work.
Less can sometimes be more when you're starting out. It's easier to add more product than to remove excess. Practice with light pressure and build up gradually for a natural look. With time and practice, you'll develop the technique that works best for your brow shape and desired look.
When choosing an eyebrow pencil, it's generally recommended to select a shade that closely matches or is slightly lighter than your natural hair color. For a natural look, the pencil should be one to two shades lighter than your brow hair. This allows for subtle definition without creating an overly harsh or artificial appearance. However, if you have very light or blonde hair, you might opt for a slightly darker shade to add more definition. The key is to create a balance that enhances your natural brows while complementing your overall facial features. Ultimately, the best choice depends on your desired look and personal preference, but starting with a lighter shade and building up intensity as needed is often the safest approach.
Brow laminating gel is a great tool for achieving fuller, more defined eyebrows. Here's how to use it effectively:
-
Brush your brows: Use a spoolie brush to comb your eyebrow hairs upward and outward.
-
Apply the gel: Starting at the inner corner of your brow, apply the laminating gel in upward strokes, following the direction of hair growth.
-
Shape your brows: While the gel is still wet, use the spoolie or a clean mascara wand to brush your brow hairs into your desired shape. For a more dramatic look, brush them straight up; for a more natural look, brush them slightly diagonally.
-
Let it set: Allow the gel to dry completely. This usually takes a few minutes.
-
Fill in if necessary: If you have sparse areas, you can lightly fill them in with a brow pencil or powder after the gel has set.
Clear brow gel is a versatile and essential product in eyebrow grooming that serves multiple purposes. It sets your brows in place, taming unruly hairs and maintaining your desired shape throughout the day. The gel adds a subtle shine, giving your brows a healthy, polished look without adding color, making it perfect for those who prefer a natural appearance. To use clear brow gel, start with clean, dry brows. Using the applicator wand, brush the gel through your eyebrows in upward and outward strokes, following the natural direction of hair growth. This helps to separate and define each hair, creating the illusion of fuller brows. You can use the gel alone for a minimalist approach or apply it over other brow products to set them in place and extend their wear. For those with particularly unruly brows, you can use the gel to shape and hold the hairs in your desired position. Remember, a little goes a long way – start with a small amount and build up as needed to avoid a stiff or crunchy look.
Most clear brow gels are designed to last through a typical workday or evening out. To maximize the staying power, make sure your brows are clean and dry before application, and consider using a brow primer underneath for extra hold. If you need your brows to stay in place for an extended period or during intense activities, you might need to reapply the gel throughout the day.
Tinted brow gel is a versatile eyebrow product that combines the holding power of clear gel with added color pigments. It's designed to groom, shape, and add subtle color to your brows in one simple step. To use tinted brow gel, start by brushing your brows upward with a spoolie brush. Then, using the gel's applicator wand, apply the product in short, upward strokes following your natural brow shape. Begin at the inner corner of your brow and work your way outward, distributing the product evenly. The tinted gel will simultaneously color, define, and set your brows in place.
Both tinted and clear brow gels offer unique benefits for eyebrow makeup. Clear brow gel excels at setting brows in place, taming unruly hairs, and providing a polished look without adding color, making it ideal for those who prefer a natural appearance or already have well-defined brows. On the other hand, tinted brow gel combines the holding power of clear gel with added color, allowing users to groom, shape, and enhance their brows in one simple step. It's particularly beneficial for those with sparse or light-colored brows, as it can create the illusion of fullness and definition. Both types of gels are easy to apply and can be used alone or in combination with other brow products, making them versatile additions to any makeup routine.
Clear brow gel is an excellent choice for those who want to groom and enhance their brows while maintaining a natural look, or as a finishing touch to more elaborate brow makeup. It's a versatile product that helps achieve consistently groomed, professional-looking brows with minimal effort.
Clear brow mascara, also known as clear brow gel, is a versatile eyebrow grooming product used to set, shape, and tame eyebrows. It helps keep brow hairs in place throughout the day, adds a subtle shine, and creates a polished look without adding color. To use clear brow mascara, start with clean, dry brows. Using the applicator wand, brush the gel through your eyebrows in upward and outward strokes, following the natural direction of hair growth. This helps to separate and define each hair, creating the illusion of fuller brows. You can use it alone for a natural appearance or apply it over other brow products to set them and extend their wear.
Brow mascara and brow gel are essentially the same product, with the terms often used interchangeably. Both refer to a cosmetic product designed to groom, shape, and set eyebrows. The main difference lies in the packaging and applicator: brow mascara typically comes in a tube with a mascara-like wand, while brow gel might have various applicator types, including spoolies or small brushes. Both products can be clear or tinted and serve the same purpose of keeping brow hairs in place, adding shine, and enhancing the overall appearance of the eyebrows.
Eyebrow serum should typically be used consistently for best results. It's important to follow the specific instructions provided with your chosen product, as formulations may vary. Generally, you should apply the serum to clean, dry brows using the applicator provided or a clean mascara wand. Consistency is key when using eyebrow serums, and it may take several weeks to a few months of regular use before noticeable results are achieved. As with any new skincare product, it's advisable to patch test first and discontinue use if any irritation occurs.
